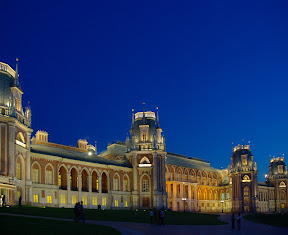
The original photo:
Now step-by-step for GIMP 2.6
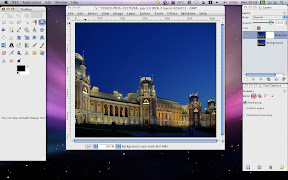
1. I usually work with copy of image, so I duplicate it and add a mask:
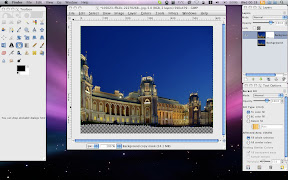
2. Using scissors select the area in bottom part of image which you want to have a "coast". Fill with black in mask.
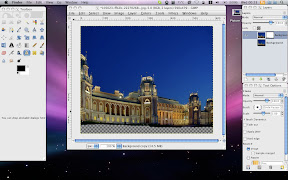
3. Using Clone tool remove unnecessary objects (people in this case):
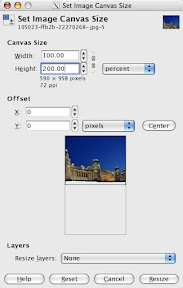
4. Increase canvas by 200% vertically Image -> Canvas Size...
5. Copy layer and mirror it vertically. Move it down so it will touch just the very tip of image.
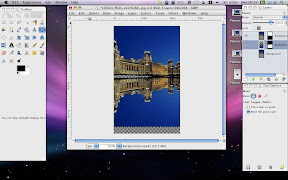
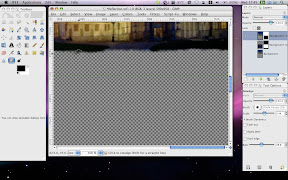
6. Use black brush on mask to remove transparent areas:
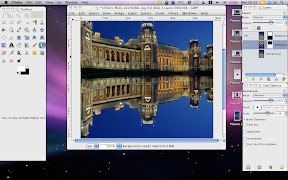
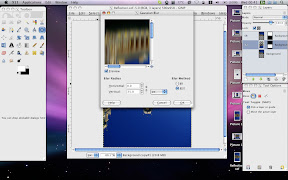
7. Lock the alpha and run Gauss Blur on reflection layer
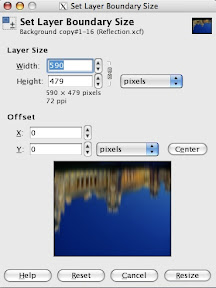
8. Check exact size of reflection layer: Layer -> Layer Boundary Size
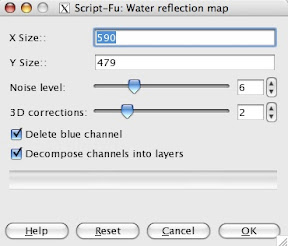
9. Run script to build the map: Script-Fu -> Map -> Water reflection map. Put size from #8:
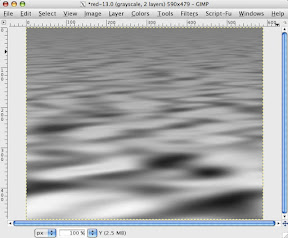
10. Wait... :)
11. The result should be like this:
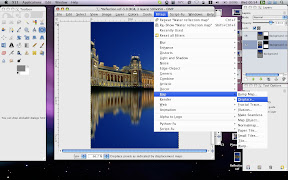
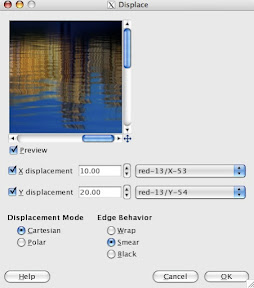
12. Back in reflection layer run Displace :
13. Set the parameters (Y=2*X, "Smear", X and Y maps from image generated by script)
14. Adjust "Hue and Saturation"
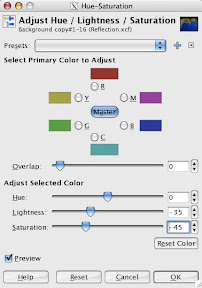
15. Make it little bit bluish:
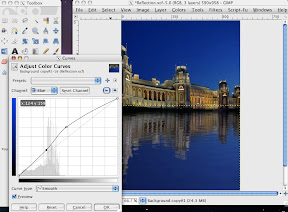
16. Adjust contrast:
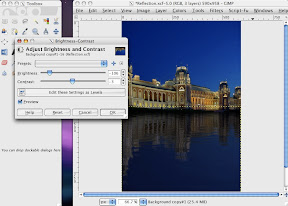
17. To avoid sharp border use smear tool on mask in original (top) layer.
18. Crop and save as JPG.
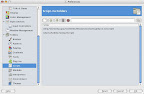
P.s. To find out where to put the script, please check Gimp settings:
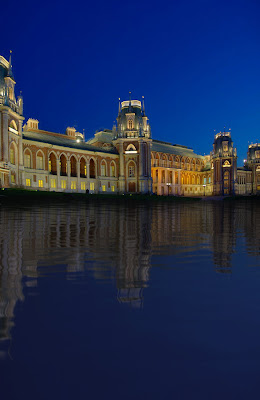
The final result:
3 comments:
wow, thanks!
oh thanks
Post a Comment